How to Grow Bell Peppers Indoors – Delicious Peppers at Home
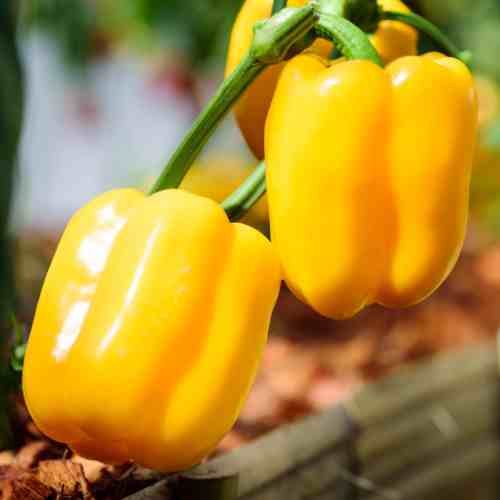
Growing bell peppers indoors offers a fantastic solution for those with limited outdoor space or adverse climates.
Not only do indoor environments allow for year-round cultivation, but they also provide control over growing conditions that can lead to healthier plants and potentially more bountiful yields.
Whether you’re an experienced gardener or a beginner, this guide will walk you through the essential steps to successfully grow bell peppers right in your own home, from selecting the right seeds to harvesting your produce.
You Can Grow It!
Chapters
- How To Grow Perfect Peppers Video
- Top Indoor Gardening Growing Systems
- 1. Choose the Right Indoor Bell Pepper Variety
- 2. Start with Seeds or Seedlings
- 3. Proper Containers and Soil
- 4. Lighting
- 5. Watering and Humidity
- 6. Temperature
- 7. Fertilizing
- 8. Pollination
- 9. Support
- 10. Harvesting
- Inspiration: Growing Bell Peppers Indoors
- Bell Pepper Planter with a built-in grow light for use in a low-light bedroom
- Bell Pepper Plants in a Corner Pot
- Bell Peppers and Herb Combo Planter in the Kitchen
- Conclusion
- FAQ
How To Grow Perfect Peppers Video
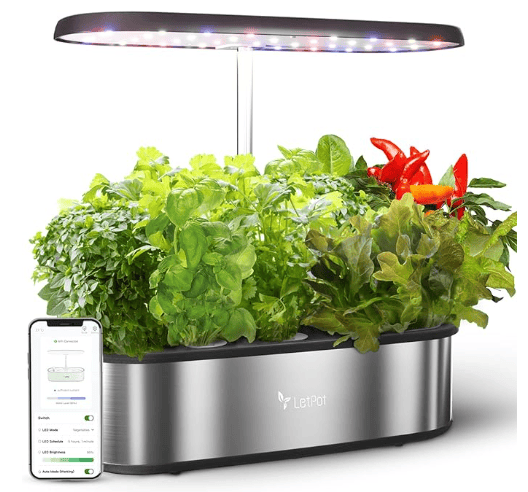
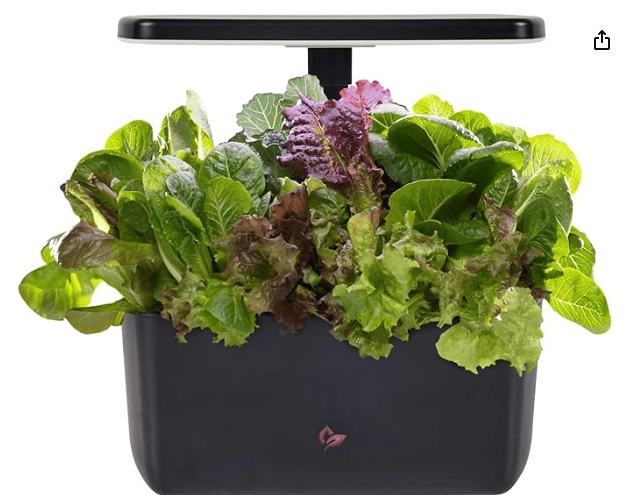
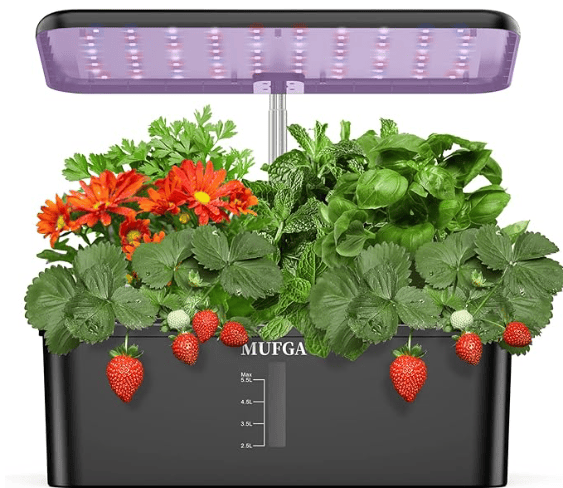
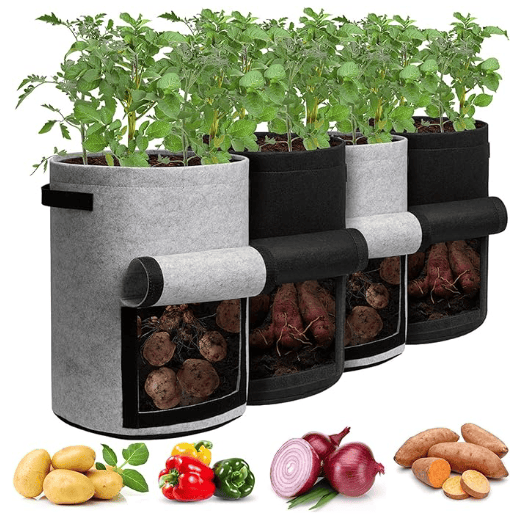
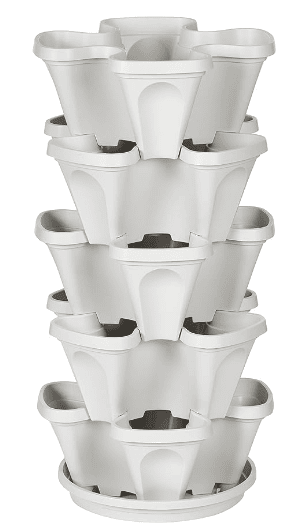
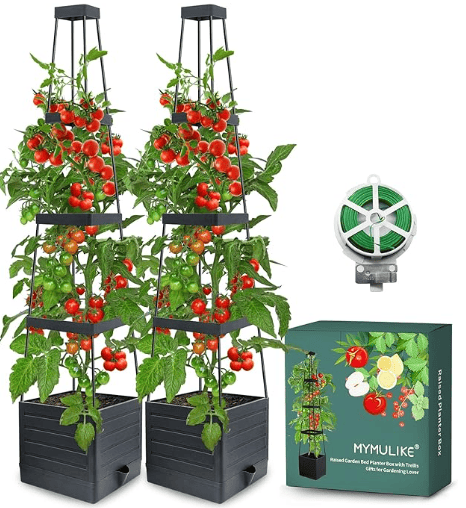
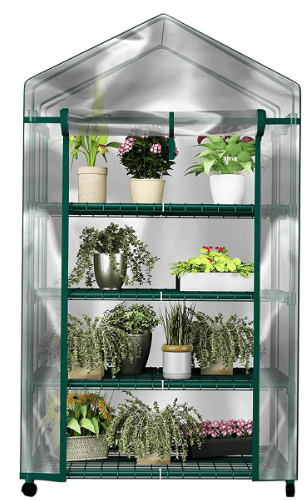
Top Indoor Gardening Growing Systems
1. Choose the Right Indoor Bell Pepper Variety
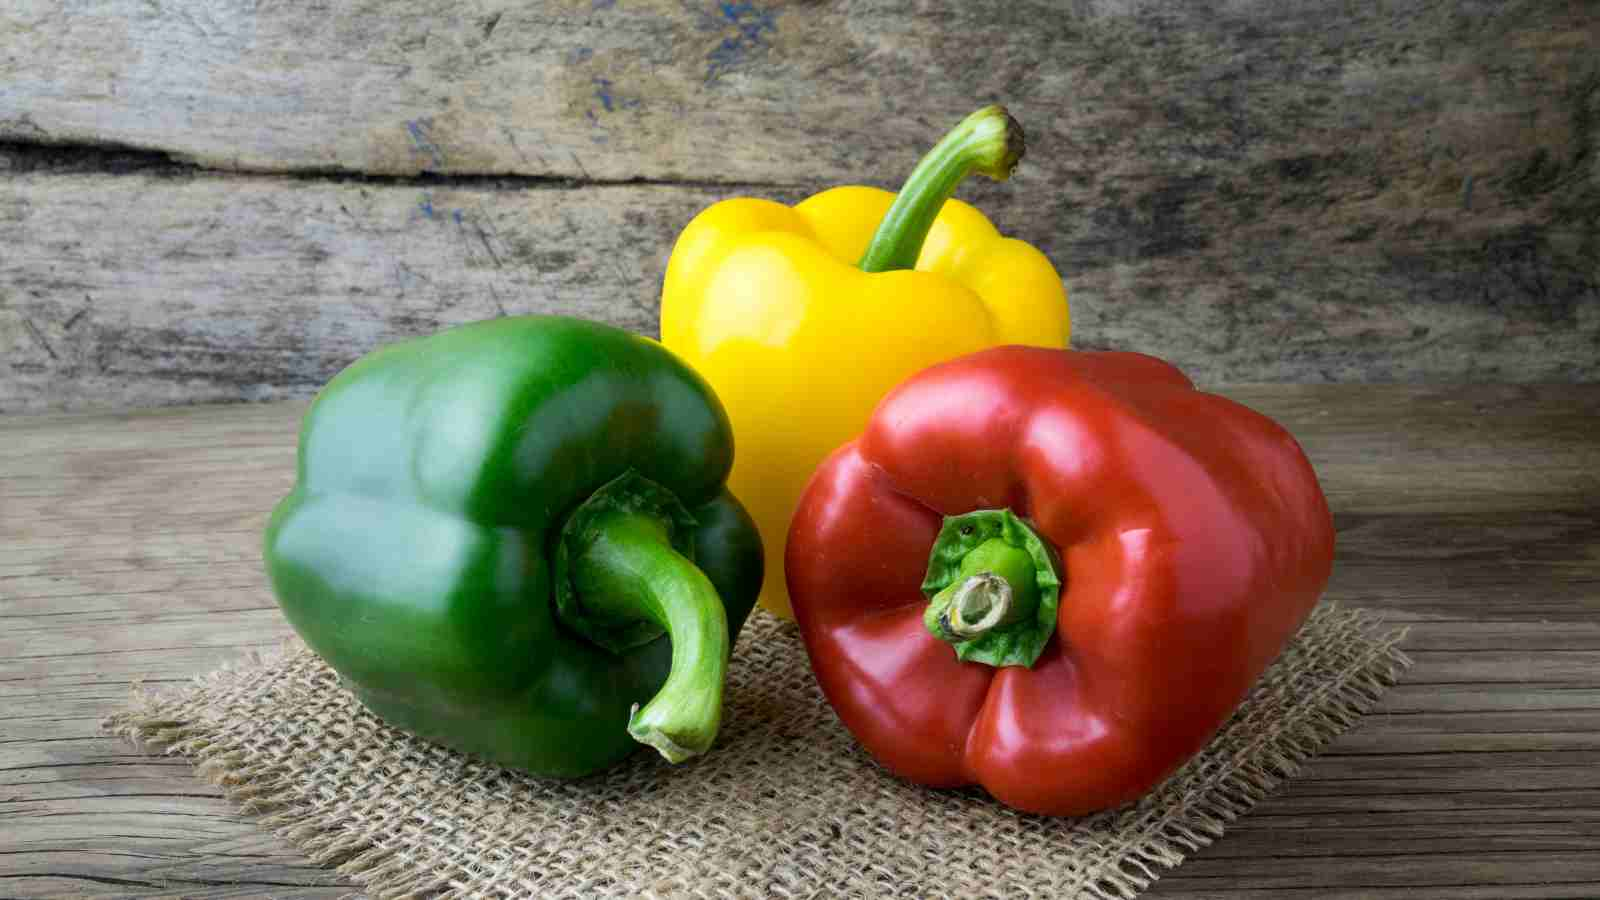
When growing bell peppers indoors, it’s essential to select varieties that are well-suited to confined spaces. Dwarf or compact varieties of bell peppers are ideal because they grow to a manageable size, making them perfect for indoor containers. These varieties often mature faster and are easier to manage in terms of light, nutrient needs, and support structures. Look for specific varieties that are bred for indoor or container gardening, such as ‘Mohawk’, ‘Redskin’, or ‘Mini Bell’, which not only thrive in limited space but also produce an abundant crop.
2. Start with Seeds or Seedlings
- Seeds: Begin your pepper plants by sowing seeds approximately 8-10 weeks before the last expected frost date in your area. This timing helps ensure that your plants will have matured sufficiently by the time warmer temperatures allow for more robust growth. Plant the seeds about 1/4 inch deep in a seed-starting mix, ensuring they are covered lightly but securely. The soil temperature should be kept consistently warm, between 70-80°F, which may require the aid of a heat mat. This warmth is crucial for germination and early growth.
- Seedlings: Alternatively, if you prefer a quicker start, purchasing seedlings from a reputable nursery can be advantageous. This method reduces the initial care required for germination and early seedling growth. When choosing seedlings, look for healthy, disease-free plants to ensure a strong start in your indoor environment.
3. Proper Containers and Soil
Select containers that are at least 12 inches deep to accommodate the root growth of bell peppers, which can be extensive. Ensure each container has adequate drainage holes to prevent waterlogging, which could lead to root diseases. Fill these containers with a high-quality potting mix that is designed to retain moisture while allowing excess water to drain away effectively. This balance is key to fostering healthy growth and avoiding issues such as root rot or fungal infections.
4. Lighting
Bell peppers are particularly light-hungry plants, requiring between 14-16 hours of bright light daily to produce fruits effectively. In many indoor settings, natural light levels are insufficient to meet these needs, especially during the shorter days of winter. In such cases, supplementing with grow lights is necessary. These lights should be placed close to the plants—about 12-24 inches above the foliage—and may need to be adjusted as the plants grow. LED or fluorescent grow lights are both excellent choices for providing the necessary spectrum of light without excessive heat.
5. Watering and Humidity
Maintaining the correct moisture level in the soil is crucial. The soil should be kept moist, but not waterlogged. Check the soil moisture by feeling the top inch of the soil; water the plants when this layer feels dry to the touch. Over-watering can be just as harmful as under-watering, leading to poor plant health and reduced yield.
Bell peppers also benefit from a humid environment, which can be a challenge to maintain indoors, especially in air-conditioned or heated rooms which tend to be dry. Using a humidity tray or a room humidifier can help increase the ambient humidity. This is particularly beneficial during the flowering and fruit-setting stages, improving the overall health and productivity of the plants.
By addressing these critical aspects of indoor cultivation, you can optimize the growth and fruit production of bell peppers, making your indoor gardening venture both enjoyable and fruitful.
6. Temperature
Maintaining the correct temperature range is crucial for the optimal growth of bell peppers. Daytime temperatures should ideally be between 70-80°F (21-27°C), which mimics the warm conditions bell peppers thrive in outdoors. At night, temperatures should be slightly cooler, but it’s important to keep them above 60°F (16°C) to prevent stress that could hinder growth and fruit production. Using a thermostat in conjunction with heating systems or air conditioners can help stabilize the indoor climate, especially in regions where outdoor temperatures fluctuate significantly.
7. Fertilizing
Feeding your bell peppers properly is essential once they start fruiting. Use a balanced, water-soluble fertilizer every two weeks to provide the necessary nutrients for continued growth and fruit development. A balanced fertilizer typically contains equal parts nitrogen, phosphorus, and potassium, which support leaf growth, root development, and flowering, respectively. It’s important to follow the manufacturer’s instructions to avoid over-fertilization, which can lead to poor plant health and reduced yield.
8. Pollination
In the controlled environment of an indoor setting, natural pollinators like bees and butterflies are absent. You can compensate for this by manually assisting in the pollination process. Gently shaking the plants can help disperse pollen, mimicking the effect of wind or insect activity. Alternatively, using a small paintbrush to transfer pollen from flower to flower ensures that each flower has a better chance of being pollinated, leading to successful fruit set.
9. Support
As bell pepper plants grow and start to produce fruit, they can become top-heavy and may risk tipping over or breaking. Providing support with stakes or small trellises can help maintain plant structure and prevent damage. Secure the plants to the support using soft ties that won’t cut into the stems. This support is particularly important as the fruit grows and the weight increases.
10. Harvesting
Bell peppers can be picked at various stages of maturity. Young peppers tend to be less sweet and more crisp, whereas fully mature peppers are sweeter and have a deeper flavor. The color change that occurs as the peppers mature—from green to red, yellow, or orange—signals a peak in flavor and nutrient content. Harvesting is best done using a pair of scissors or a sharp knife to cut the peppers from the plant, which helps prevent damage to the plant that could occur if the peppers are pulled off.
By carefully managing these aspects of temperature, fertilization, pollination, support, and harvesting, you can maximize the health of your indoor bell pepper plants and enjoy a productive growing season.
Inspiration: Growing Bell Peppers Indoors
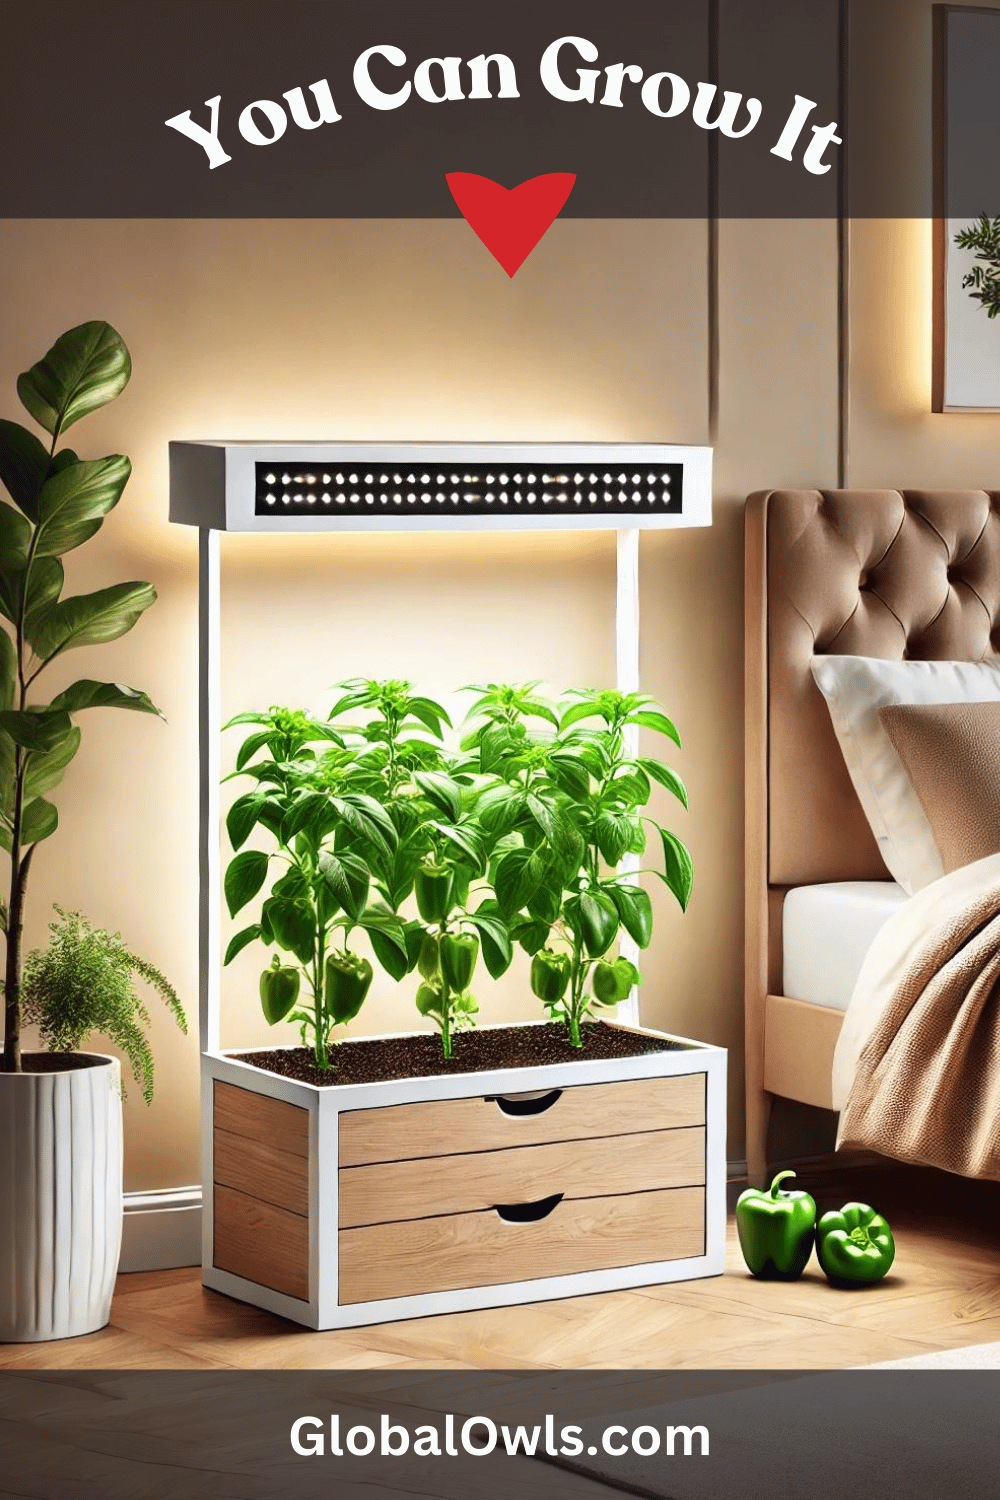
Bell Pepper Planter with a built-in grow light for use in a low-light bedroom
The planter is designed to be both functional and aesthetically pleasing, suitable for indoor environments where natural light is scarce. It consists of:
- Planter Box: A rectangular container approximately 24 inches in length, 12 inches in width, and 12 inches in height, providing ample space for the roots of bell peppers to grow. The box should have drainage holes at the bottom to prevent waterlogging.
- Grow Light: Mounted above the planter box, the grow light is a key feature for this setup. It should be an LED panel that emits full-spectrum light, mimicking the natural sunlight spectrum, which is crucial for plant growth. The light should be adjustable, both in height and intensity, to cater to the growing needs of the bell peppers as they mature from seedlings to fully grown plants.
- Materials: The planter can be made from materials like wood for a rustic look or high-grade plastic for durability. The interior should be lined with a waterproof material to protect the outer material from moisture.
- Automatic Timer for Light: To simulate natural sunlight conditions, the grow light should be connected to an automatic timer that controls the light cycles—typically, bell peppers require about 14-16 hours of light per day.
- Watering Tray: At the bottom of the planter, a tray can collect excess water, which helps in maintaining moisture levels without the need for constant watering.
Blueprint (Design Guide)
- Construction of the Planter Box:
- Cut the chosen material into two 24-inch pieces (for length) and two 12-inch pieces (for width) for the sides, and one 24×12 inch piece for the bottom.
- Assemble the sides and bottom using screws or nails, ensuring it is secure and watertight.
- Installation of the Grow Light:
- Attach four adjustable stands, one at each corner of the planter box, rising about 24 inches above the soil level.
- Mount the LED grow light panel on top of these stands, ensuring it covers the entire surface area of the planter box evenly.
- Electrical Setup:
- Integrate the grow light with an automatic timer. Ensure all electrical wiring is safely insulated and positioned away from water contact.
- Configure the timer to provide the necessary light duration based on the growth stage of the bell peppers.
- Finishing Touches:
- Paint or seal the external surfaces of the planter to match the room decor and protect the material.
- Add a layer of high-quality potting mix to the planter, suitable for vegetable cultivation.
- Plant bell pepper seeds or seedlings, spacing them about 8 inches apart to allow for growth.
This setup not only supports the healthy growth of bell peppers but also integrates seamlessly into home decor, adding a touch of greenery and productivity to a low-light bedroom.
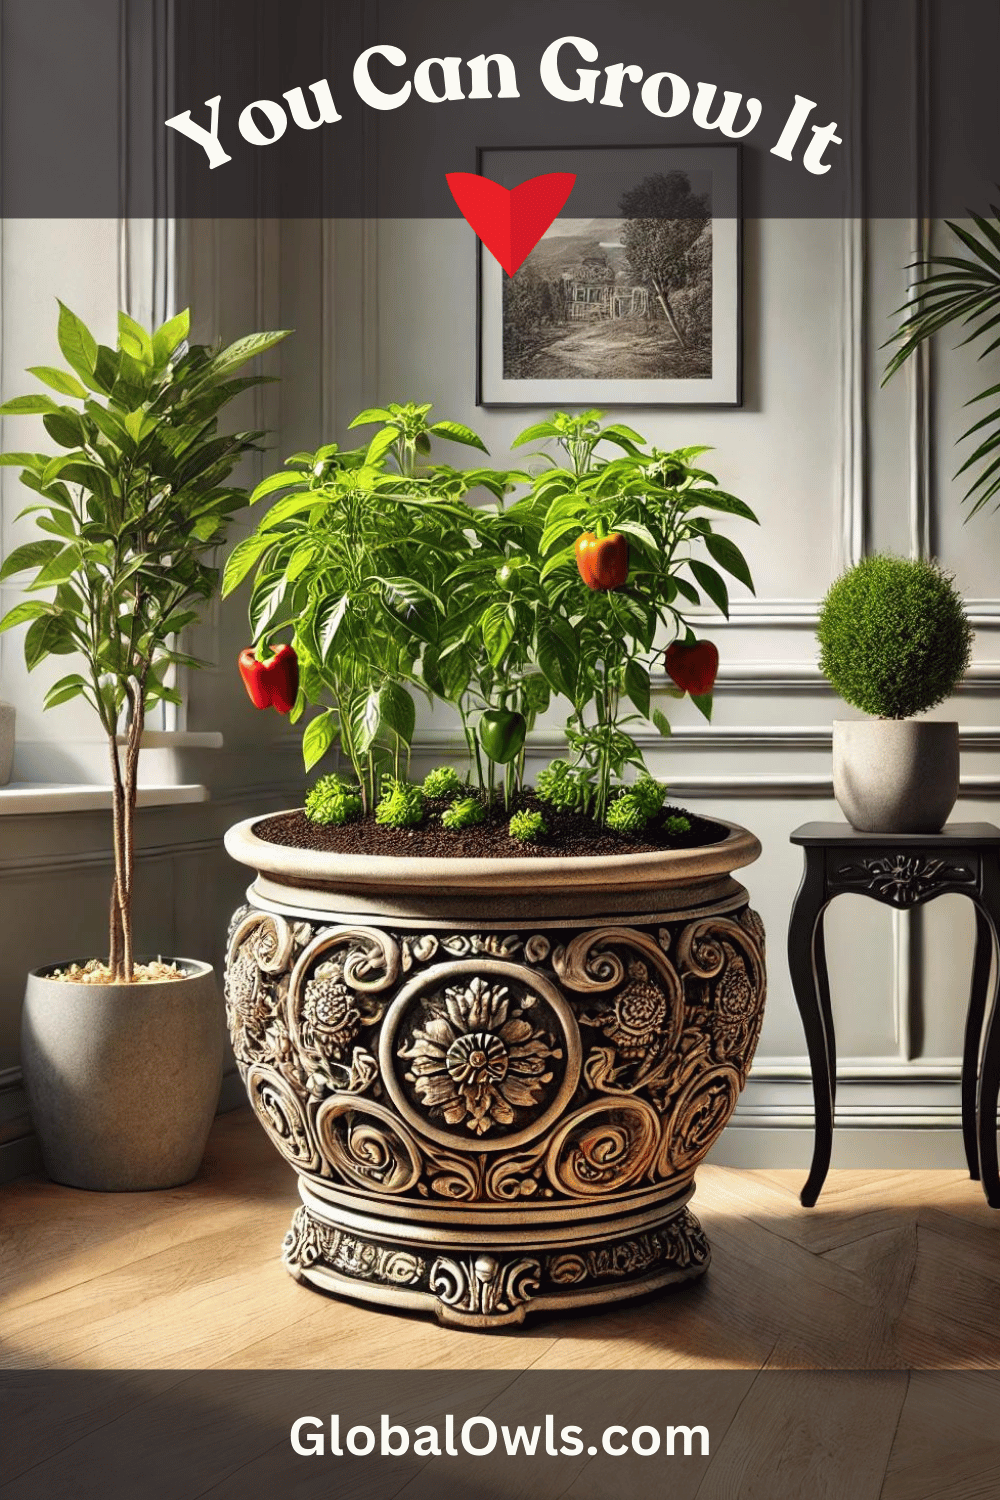
Bell Pepper Plants in a Corner Pot
This setup focuses on using a large, decorative pot to cultivate compact bell pepper varieties. It’s designed to maximize the aesthetic appeal of indoor gardening while ensuring the plants receive adequate light and care.
Features:
- Decorative Pot: A large, ornate pot approximately 18-24 inches in diameter and 18 inches in height. It should have a wide opening to allow ample sunlight to reach the plants and sufficient depth to support the root systems. The material could be ceramic or terra cotta with artistic designs to enhance visual interest.
- Placement: Positioned in a bright corner that receives several hours of direct sunlight daily, the pot can be elevated on a stand if needed to increase light exposure.
- Soil and Drainage: Use high-quality potting soil mixed with perlite for improved drainage. Ensure the pot has drainage holes at the bottom to prevent waterlogging.
- Plant Selection: Compact bell pepper varieties are ideal for this setup, as they are bred to thrive in limited space and produce abundant fruit.
- Decorative Elements: Consider adding mulch or decorative stones on the top layer of the soil to retain moisture and add to the pot’s aesthetic.
Blueprint (Design Guide)
- Choosing and Preparing the Pot:
- Select a decorative pot with the required dimensions and ensure it has adequate drainage holes.
- Add a layer of gravel at the bottom of the pot before adding soil to promote good drainage.
- Soil Preparation:
- Mix potting soil with perlite in a 3:1 ratio to ensure it is loose and well-draining.
- Fill the pot with the soil mixture, leaving about 2-3 inches at the top for easy watering and mulching.
- Planting the Bell Peppers:
- Plant the bell pepper seedlings or small plants in the center of the pot, spacing them about 6-8 inches apart.
- Ensure the plants are buried up to their first set of true leaves to encourage strong root development.
- Setting up in the Bright Corner:
- Place the pot in a corner that receives ample sunlight. Use a plant stand if more height is needed to catch the sun’s rays.
- Rotate the pot occasionally to ensure all sides receive equal light, promoting even growth.
- Ongoing Care:
- Water the plants regularly, keeping the soil consistently moist but not soggy.
- Apply a balanced, slow-release fertilizer every 4-6 weeks to support fruit production.
- Prune any overcrowded branches to improve air circulation and sun exposure.
This setup not only serves the functional purpose of growing fresh bell peppers but also enhances the room’s decor, making it a vibrant and attractive space.
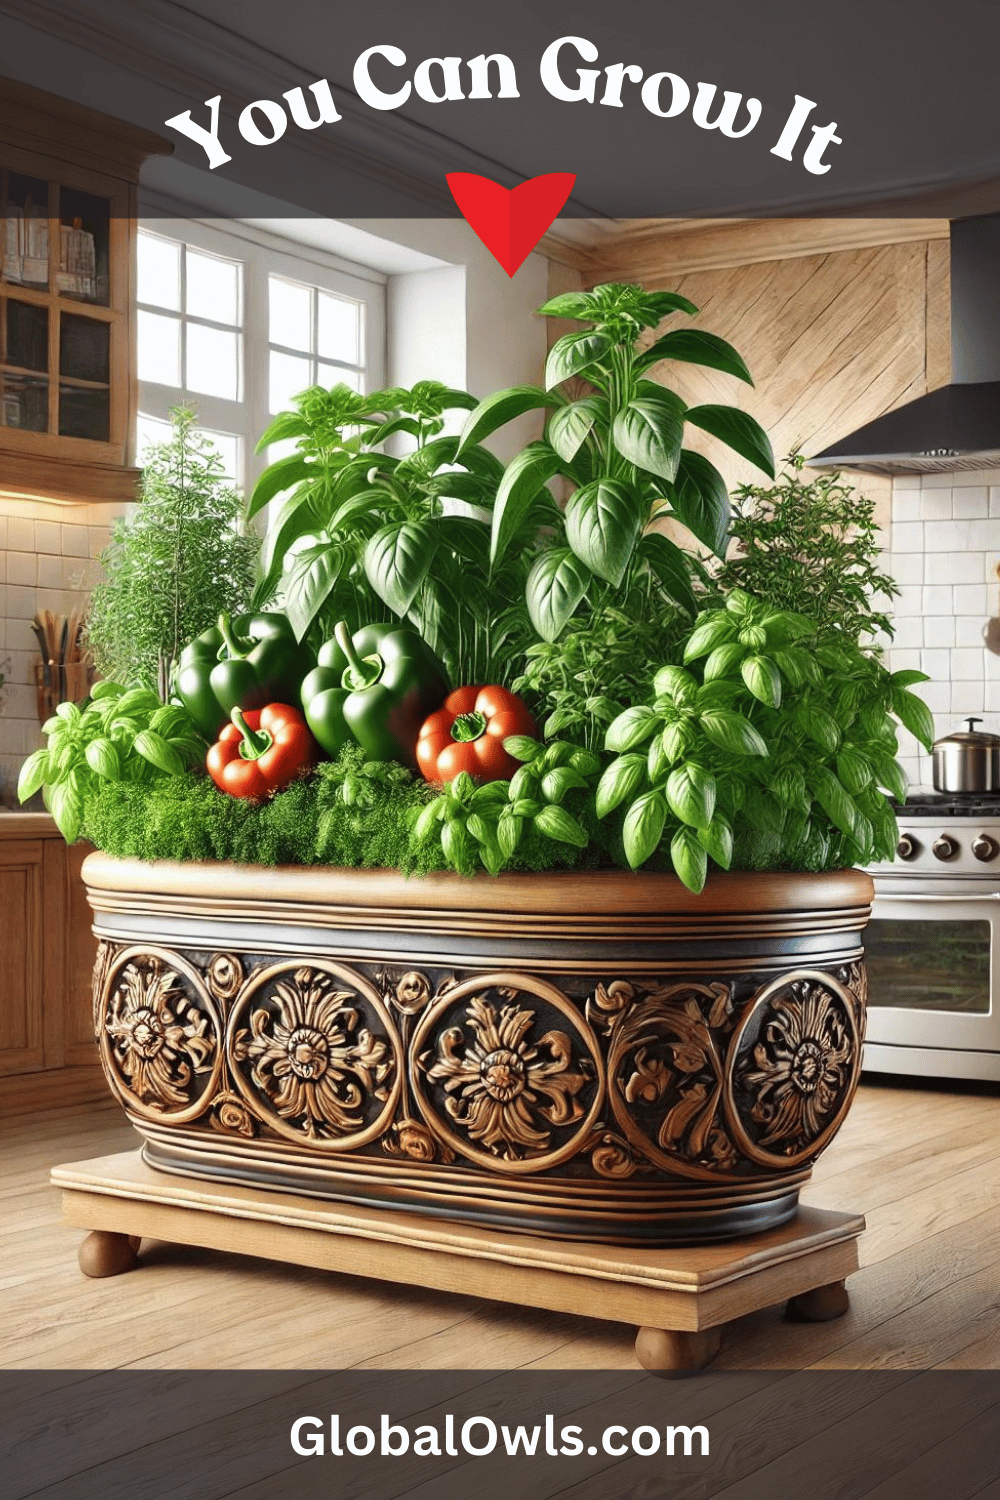
Bell Peppers and Herb Combo Planter in the Kitchen
This kitchen planter setup uses a single large planter to grow bell peppers alongside aromatic herbs like basil, making it both a functional and decorative addition to the kitchen. The combination of these plants not only utilizes space efficiently but also benefits from complementary planting, as certain herbs can help deter pests naturally.
Features:
- Large Rectangular Planter: Approximately 30 inches long, 10 inches wide, and 10 inches deep. The planter should be spacious enough to accommodate the root systems of both bell peppers and herbs without overcrowding.
- Materials: Opt for materials like stainless steel or durable plastic with a sleek, modern finish that complements kitchen appliances and decor. Ensure the planter has adequate drainage holes to prevent water retention.
- Companion Planting Setup: Arrange bell pepper plants interspersed with basil and other herbs. This not only maximizes the use of space but also promotes a healthier growing environment by repelling certain pests.
- Mobility: Include a removable base with wheels to facilitate easy movement of the planter, allowing for optimal positioning in the kitchen for sunlight exposure or aesthetic purposes.
- Additional Features: Consider incorporating a built-in watering system or a drip tray to manage water efficiently and keep the kitchen tidy.
Blueprint (Design Guide)
- Constructing the Planter:
- Use materials that match or complement kitchen aesthetics. Cut the material into two 30-inch pieces (length) and two 10-inch pieces (width and height).
- Assemble the sides to form a rectangular box, securing them with screws or strong adhesive.
- Ensure the base is secure and add a drainage layer of gravel before adding the soil.
- Soil and Planting:
- Fill the planter with a high-quality potting mix suitable for vegetables and herbs.
- Plant bell pepper plants at one end of the planter, spaced about 8 inches apart. Intersperse basil and other herbs like parsley or chives between the peppers.
- Ensure each plant has enough space to grow without overcrowding, ideally with 6-8 inches of space around each plant.
- Placement and Care:
- Position the planter in a part of the kitchen that receives at least 6 hours of sunlight daily, such as near a south-facing window.
- If natural light is limited, consider installing a grow light above the planter to supplement light exposure.
- Water regularly to keep the soil moist but not waterlogged, and use an organic fertilizer every 4-6 weeks.
- Ongoing Maintenance:
- Regularly check for signs of pests or disease and prune any overgrown or dead parts of the plants.
- Rotate the planter occasionally to ensure all plants receive equal light and grow evenly.
This planter not only brings the practical benefits of fresh produce to your kitchen but also adds a lush, green element to the space, enhancing its overall ambiance.
Conclusion
Indoor gardening is a rewarding endeavor that can yield fresh, flavorful bell peppers throughout the year, regardless of your outdoor gardening possibilities. By following the steps outlined—choosing the right variety, ensuring adequate light, and maintaining proper watering and temperature—you’ll set yourself up for success. Indoor bell pepper plants not only contribute to your culinary options but also add a vibrant touch of green to your living space. So, why wait? Start your indoor bell pepper garden today and enjoy the fruits of your labor!
FAQ
What are the best varieties of bell peppers for indoor growing?
Look for dwarf or compact varieties suited for container gardening, such as ‘Mohawk’, ‘Redskin’, or ‘Mini Bell’.
How deep should I plant bell pepper seeds indoors?
Plant seeds about 1/4 inch deep in a seed-starting mix.
What type of soil should I use for indoor bell peppers?
Use a high-quality potting mix that drains well to avoid waterlogging.
How much light do bell peppers need when grown indoors?
Bell peppers require 14-16 hours of bright light daily. Use grow lights if natural sunlight is insufficient.
What temperature is ideal for growing bell peppers indoors?
Maintain daytime temperatures around 70-80°F and nighttime temperatures above 60°F.
How often should I water indoor bell pepper plants?
Water when the top inch of the soil feels dry, ensuring the soil is moist but not soggy.
Do I need to fertilize indoor bell pepper plants?
Yes, feed them with a balanced, water-soluble fertilizer every two weeks once the plant starts to develop fruit.
How do I pollinate bell peppers indoors?
Gently shake the plants to distribute pollen or use a small brush to hand-pollinate.
When is the right time to transplant seedlings into larger pots?
Once they have 2-3 true leaves and are strong enough to handle.
How do I prevent pests on my indoor bell pepper plants?
Regularly inspect for pests and treat with organic insecticidal soap or neem oil if needed.
How can I increase humidity for indoor bell peppers?
Use a humidity tray or a room humidifier to raise the moisture level around your plants.
Why are my bell pepper plant leaves turning yellow?
This could be due to overwatering, under-fertilizing, or a lack of sunlight.
How long does it take for bell peppers to grow from seeds to harvestable fruit indoors?
Typically, bell peppers take 60-90 days from transplant to harvest, depending on the variety and conditions.
Can I grow bell peppers indoors year-round?
Yes, with adequate light, temperature control, and care, you can grow bell peppers indoors throughout the year.
What type of container is best for growing bell peppers indoors?
Use a container at least 12 inches deep with good drainage.
How do I know when it’s time to harvest my bell peppers?
Harvest when the peppers are firm and have reached their full color, which varies by variety.
Do indoor bell peppers need pruning?
Light pruning to remove dead or overcrowded branches can help improve air circulation and light exposure.
Can I grow bell peppers from scraps?
Bell peppers can be grown from seeds saved from store-bought peppers, though results can vary.
What are common diseases to watch out for with indoor bell peppers?
Keep an eye out for signs of bacterial spot, fungal infections, and wilting diseases.
How can I ensure my bell peppers are flavorful?
Provide plenty of light, consistent moisture, and regular feeding to ensure healthy, flavorful peppers.
What kind of grow lights are best for bell peppers?
LED or fluorescent grow lights that emit full-spectrum light are ideal for promoting growth and fruiting.
How much space do bell pepper plants need?
Each plant should have a pot at least 12 inches wide to accommodate its root system and provide enough space for growth.
Can bell pepper plants grow in artificial light alone?
Yes, bell peppers can grow under artificial light alone if it’s bright enough and positioned close enough to the plant (12-24 inches).
How do I deal with aphids on my indoor bell pepper plants?
Remove them by spraying the plants with water or applying insecticidal soap.
What should I do if my bell peppers are small and misshapen?
This could be due to inadequate pollination, poor nutrition, or insufficient lighting.
Can I use a heating pad for my bell pepper seedlings?
Yes, a heating pad can help maintain the ideal soil temperature of 70-80°F for germination.
What is the best way to increase fruit production in indoor bell peppers?
Ensure optimal pollination, use high-quality fertilizer, and provide sufficient light and water.
How often should I rotate my bell pepper plants?
Rotate the plants every few days to ensure even light exposure on all sides.
Can bell peppers be grown hydroponically indoors?
Yes, bell peppers can be successfully grown hydroponically, which can also potentially increase yield.
How can I make my own potting mix suitable for bell peppers?
Combine peat moss, perlite, vermiculite, and compost in equal parts to create a well-draining, nutrient-rich mix.
What are signs of overwatering in bell pepper plants?
Wilting, yellowing leaves, and a stagnant, musty smell from the soil can indicate overwatering.
How do I correct nutrient deficiencies in bell pepper plants?
Apply a balanced liquid fertilizer and consider adding specific nutrients like magnesium or iron if yellowing or other deficiency symptoms persist.
Why aren’t my bell peppers turning red?
Peppers may take longer to change color indoors due to less intense light; patience is key, or increase light exposure.
What humidity level is ideal for growing bell peppers indoors?
Aim for a humidity level between 40-50% for optimal growth.
Can I grow different varieties of bell peppers together indoors?
Yes, you can grow different varieties together, but ensure each plant has enough space and light to thrive.
How can I save seeds from indoor-grown bell peppers for next season?
Allow a pepper to fully mature, then harvest seeds and dry them completely before storing in a cool, dry place.
What is the lifecycle of an indoor bell pepper plant?
From seed to seedling to flowering and fruiting, the lifecycle spans approximately 5-6 months, after which productivity may decline.
Can indoor bell pepper plants recover from pest damage?
Yes, with proper care and pest control measures, plants can often recover and continue to produce fruit.
How can I tell if my bell peppers are over-fertilized?
Symptoms include salt buildup on the soil surface, browned leaf tips, and slow growth.
What’s the best way to store harvested bell peppers?
Store them in the refrigerator to keep them crisp and fresh for up to two weeks.
